| Scratchbuilding metal wheel chocks |
Wheel
chocks are almost as old as the airplanes. They are in use since the
1920's and are important mandatory accessories in any airport. Wheel
chocks are basically of two types: a solid block of wood or plastic, or
a welded cage formed by steel bars. There used to be also the
Flintstone's type, extensively used in the PTO during WWII, but that's
another story...
In this article I'm not going to talk about the first type. I'm sure you will find a sprue that can be cut and trimmed to the size and shape needed. I did it for my Sea Hurricane a while ago, among other models:
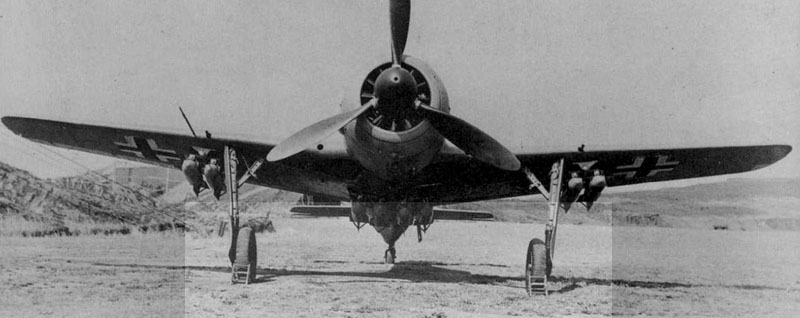
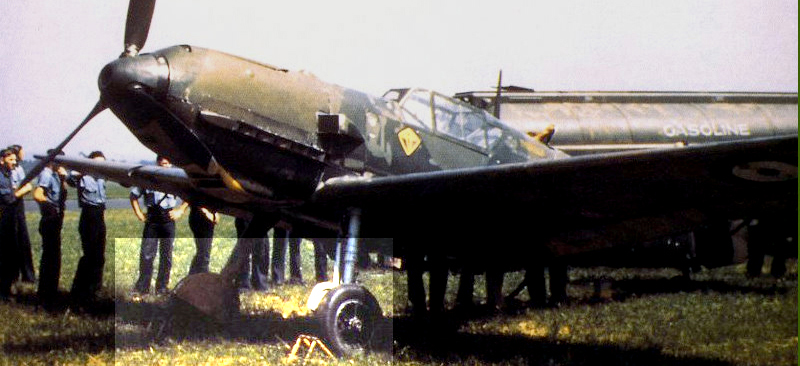
But this time I wanted to make one of those chocks built from welded steel bars for my Tamiya Bf-109E in 1/72 scale. They were extensively used during WWII by practically all air forces, and were certainly more durable than their wooden counterparts. They could be of many sizes to accomodate tires of different aircraft, and different designs as well. They could even be manufactured in the field, provided welding facilities were available. The photos below show some examples:

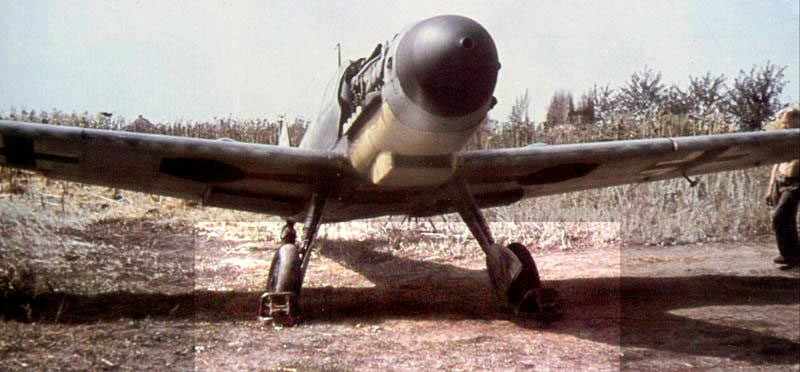
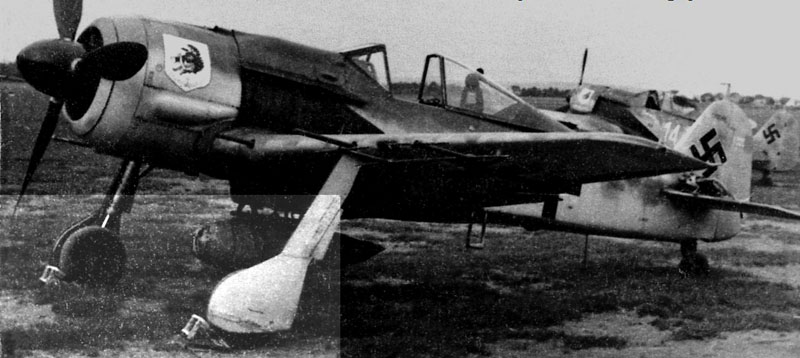
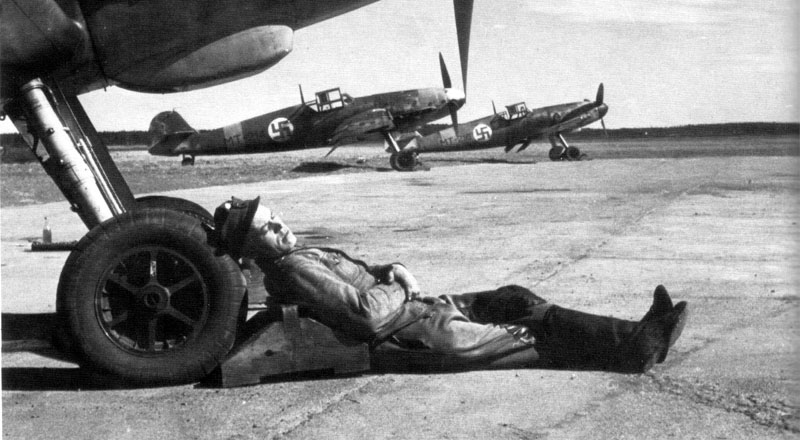
Some designs are difficulto to explain, though:
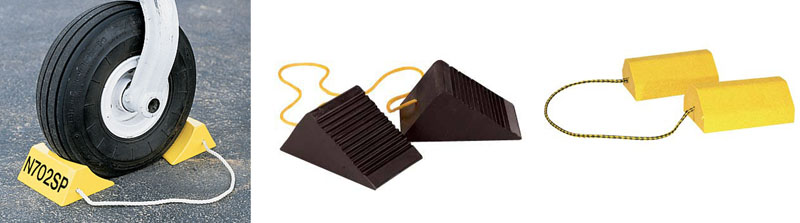
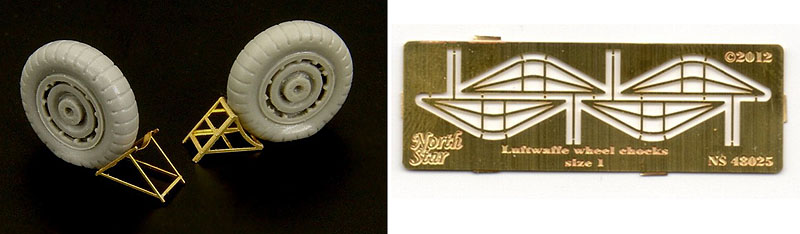
Anyways, there are commercial items if you are inclined to. Here are the Lion Roar and North Star offerings, respectively:
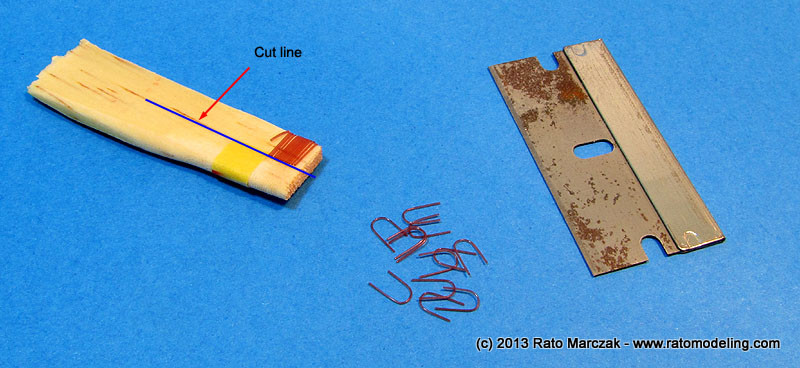
For the project in hand, I wouldn't have time to order any such accessory, so I decided to build my own, shamelessly copying the North Star one. The first thing to do is to carve a master out of bass wood. The cross section of the master corresponds to the projected view of the chock on the ground, that is, an enlarged surrounding area of roughly half wheel+tire cross section:

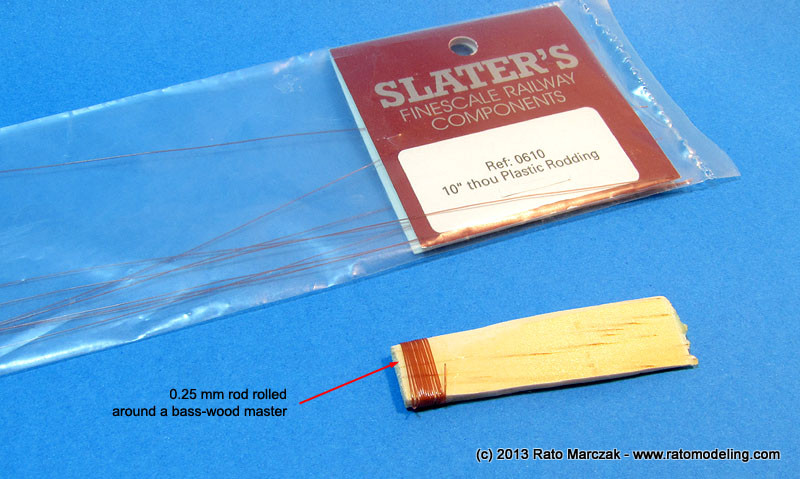
Next, 0.25 mm plastic rod (which would correspond to a 18 mm steel rod in real life) that was rolled around the wood master, with the ends secured with super glue:
The whole thing was dipped in hot water in order to transfer permanently the shape of the master to the plastic rods. A hobby blade is used to cut the rods free, resulting several U-shaped pieces (sorry for the pitiful stated of my blade, next time I'll use a new one during the photo section):
I hope you find this article useful in your next project.
Rato
Marczak
© 2013In this article I'm not going to talk about the first type. I'm sure you will find a sprue that can be cut and trimmed to the size and shape needed. I did it for my Sea Hurricane a while ago, among other models:
But this time I wanted to make one of those chocks built from welded steel bars for my Tamiya Bf-109E in 1/72 scale. They were extensively used during WWII by practically all air forces, and were certainly more durable than their wooden counterparts. They could be of many sizes to accomodate tires of different aircraft, and different designs as well. They could even be manufactured in the field, provided welding facilities were available. The photos below show some examples:
Some designs are difficulto to explain, though:
Anyways, there are commercial items if you are inclined to. Here are the Lion Roar and North Star offerings, respectively:
For the project in hand, I wouldn't have time to order any such accessory, so I decided to build my own, shamelessly copying the North Star one. The first thing to do is to carve a master out of bass wood. The cross section of the master corresponds to the projected view of the chock on the ground, that is, an enlarged surrounding area of roughly half wheel+tire cross section:
Next, 0.25 mm plastic rod (which would correspond to a 18 mm steel rod in real life) that was rolled around the wood master, with the ends secured with super glue:
The whole thing was dipped in hot water in order to transfer permanently the shape of the master to the plastic rods. A hobby blade is used to cut the rods free, resulting several U-shaped pieces (sorry for the pitiful stated of my blade, next time I'll use a new one during the photo section):
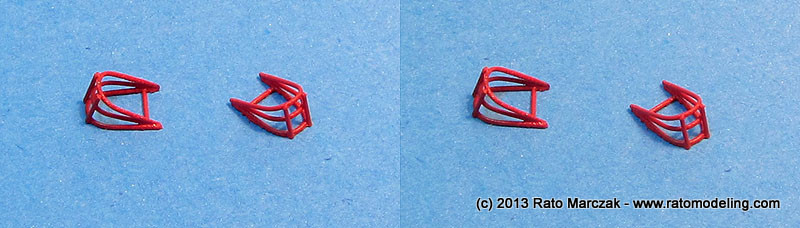
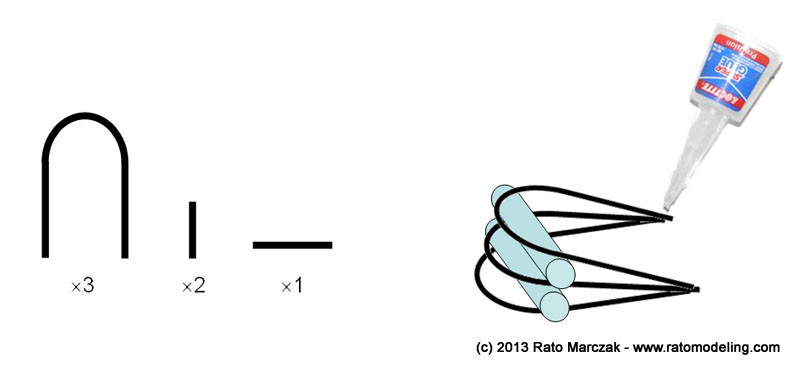
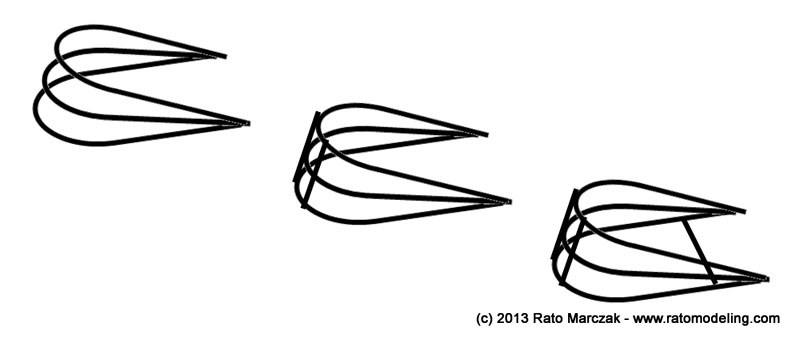
For each chock, three U-bars are glued together, with a piece of wire acting as spacers while the glue set:
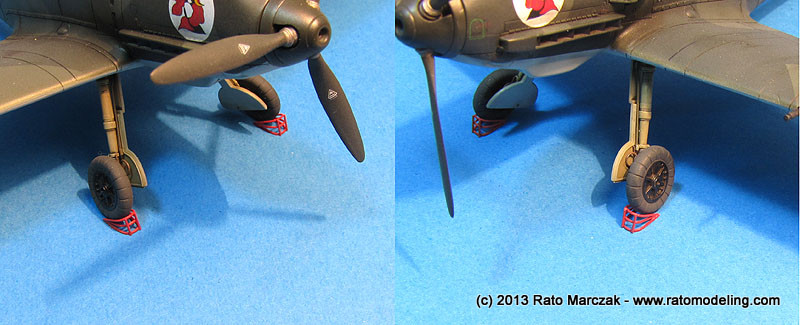
And our wheel chocks are ready. A coat of RLM 23 finished everything:
Two vertical bars are then glued to the front of the chock, while another one is glued flush to the ground:
And our wheel chocks are ready. A coat of RLM 23 finished everything:
I hope you find this article useful in your next project.
