| Making Warning
Lights |
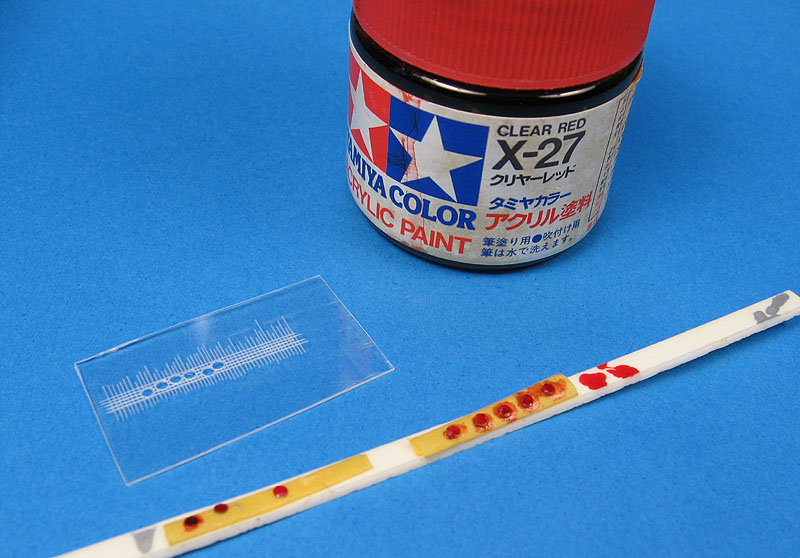
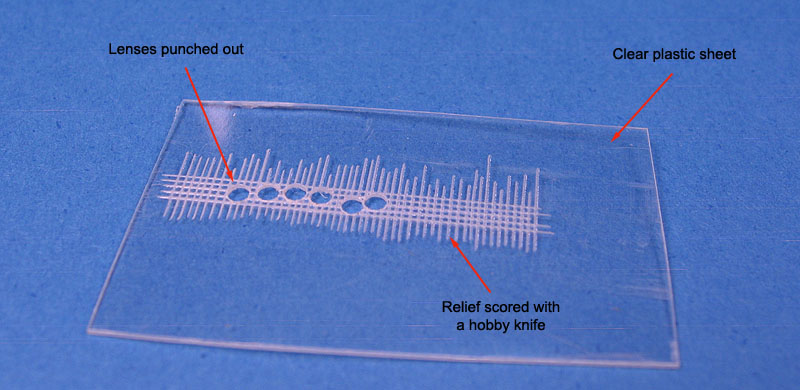
The first step in producing a convincing light is to simulate the relief pattern found on most lenses. Their purpose is merely to increase the light reflexivity in other directions. Generally, they are parallel lines grided either on the outer or on the inner surface of the lens. I reproduce this by scoring parallel lines on a piece of clear plastic using a hobby knife. Try to keep the lines as parallel as possible, and check your references to know the number of lines in each direction. Discs are then punched out to produce the lenses. During the punching procedure, try to keep the line pattern reasonably centered.
Next, the reflexive layer is simulated by painting the backside of each lens with silver color. Let it dry, flip the lens over and paint the front side with the suitable transparent color. I used a mix of Tamiya Clear Red (X-27) and Smoke (X-19) in this example. If necessary, add a second coat.
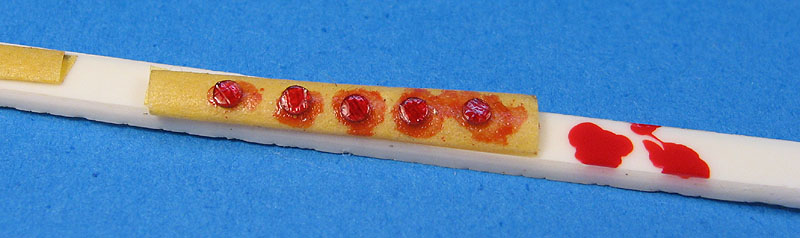
Wait the clear coat to dry throughly and apply it to your model. I like to fix them using Microscale Metal Foil Adhesive, since that makes my lenses self-adhesive, reducing the risk of marring the model with glue.
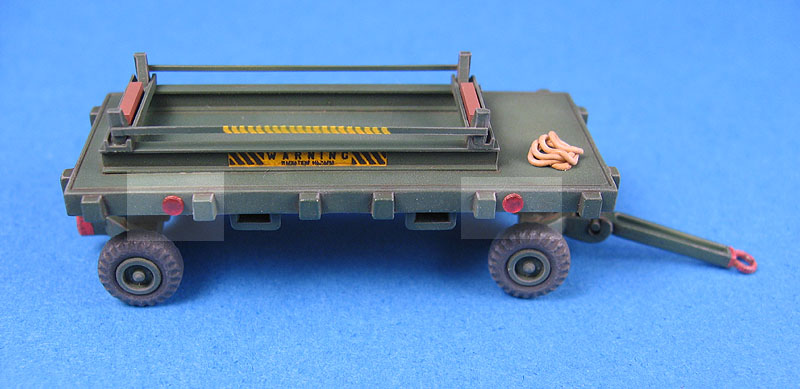
This method is particularly effective for small lights, and can be adapted to your needs. In retrospect, I would suggest to apply a coat of smoke or glase clear coat before the red/orange. That will work as a wash, increasing the contrast of the relief lines.
I hope you find this tip useful.
